
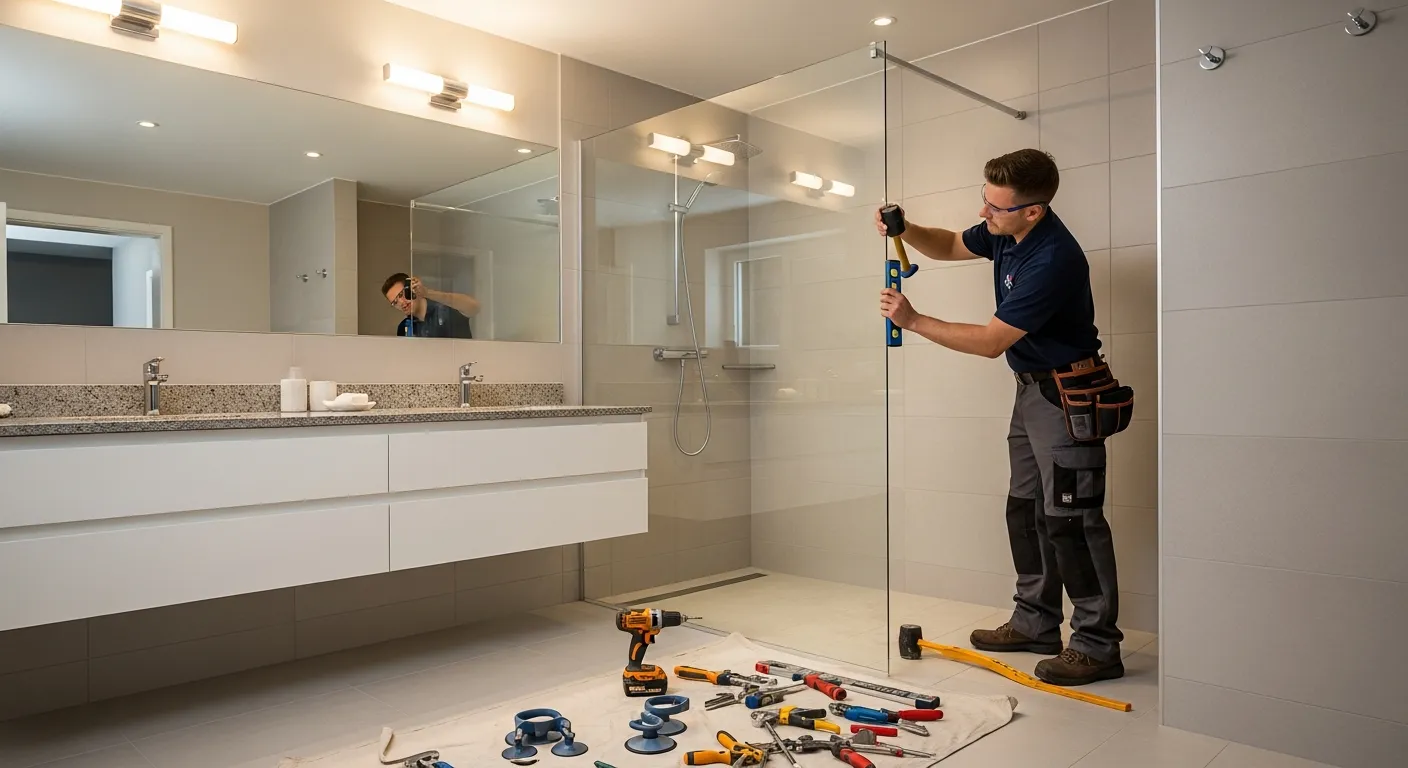
High-end architectural glazing cannot be pulled off a shelf. From laser measurement to silicone curing, here is the technical timeline required to engineer and install a structural frameless shower.
Phase 1: Laser Topography (Day 1)
Prerequisite: All tile, curbs, and thresholds must be 100% complete and cured.
We do not rely on tape measures for structural glass. We deploy 5-point laser leveling to map the exact topography of the substrate. If a wall leans 1/8" over an 80" vertical span, the glass must be CNC-machined to that precise rake. This ensures structural integrity and eliminates the need for unsightly gap-filling.
Phase 2: Fabrication & Tempering (10-14 Days)
The CAD drawings are sent to local fabrication facilities. The process involves:
- Cutting the raw annealed glass to the raked measurements.
- CNC milling of all hinge notches and handle holes.
- Edge polishing (flat polish with chamfered edges).
- Thermal Tempering: The glass is heated to ~600°C and rapidly cooled. This creates high surface compression, making it 4-5 times stronger than standard glass. Note: Once tempered, glass can never be cut or altered again.
Phase 3: Installation & Curing (Day 15)
Installation of heavy glass requires a two-man team. Mechanical hinges are anchored into the structural blocking behind the tile. Fixed panels are set and secured using commercial-grade structural silicone.
Critical Step: The structural silicone must cure undisturbed for a strict 24-hour period. Using the shower or even opening the door before curing is complete will break the watertight seal and compromise structural safety.
Expert Consultation
Require engineering assessment for a structural glass project in British Columbia? Our glazing experts are ready to assist.
Contact Engineering